Accessing the Pod
In this module, we will cover,
- Get a Shell to a Running Container.
- Run individual commands in a container.
- Open a shell when a Pod has more than one container. First we will see few examples of how to interact with a running container. We will take an Nginx pod for this exercise.
[Lab setup ](https://www.rajith.in/Kubernetes/KubernetesPart6_service-2/#undersrand-the-lab-setup. Here we are using the same lab setup which we used earlier. If you are not familiar, please have a look and come back here.
Create the Nginx pod.
Pod creation was covered in the previous series.
If you do not have any previous experience on the pod, have a look at the previous series Kubernetes in 7 days? In a week !!! –> Creating Pod and come back here.
This time we will create the pod with imperative command.
rajith@k8s-master:~$ kubectl run nginx --image=nginx --port=80
pod/nginx created
rajith@k8s-master:~$ kubectl get pods
NAME    READY   STATUS    RESTARTS   AGE
nginx   1/1     Running   0          8s
rajith@k8s-master:~$
Pod is created.
Now let us expose the port ‘80’ of the pod, with help of the NodePort service.
Here is the service definition file which we use.
rajith@k8s-master:~$ cat nginx-service.yaml
apiVersion: v1
kind: Service
metadata:
  labels:
    run: nginx
  name: nginx
spec:
  ports:
  - port: 80
    protocol: TCP
    targetPort: 80
    nodePort : 30007
  selector:
    run: nginx
  type: NodePort
rajith@k8s-master:~$
We are exposing the pod Nginx port 80 to the NodePort 30007 So that the Nginx page will be available outside the cluster through the Node port.
Let’s create the service.
rajith@k8s-master:~$ kubectl create -f nginx-service.yaml
service/nginx created
rajith@k8s-master:~$ kubectl get svc nginx -o wide
NAME    TYPE       CLUSTER-IP     EXTERNAL-IP   PORT(S)        AGE   SELECTOR
nginx   NodePort   10.97.55.163   <none>        80:30007/TCP   46s   run=nginx
rajith@k8s-master:~$ kubectl get pod -o wide
NAME    READY   STATUS    RESTARTS   AGE     IP          NODE     NOMINATED NODE   READINESS GATES
nginx   1/1     Running   0          5m46s   10.40.0.2   node-1   <none>           <none>
rajith@k8s-master:~$
The service created, took the correct label and also the port forwarding is happening.
rajith@k8s-master:~$ kubectl get svc nginx -o wide
NAME    TYPE       CLUSTER-IP     EXTERNAL-IP   PORT(S)        AGE   SELECTOR
nginx   NodePort   10.97.55.163   <none>        80:30007/TCP   46s   run=nginx
rajith@k8s-master:~$ kubectl get pod --show-labels
NAME    READY   STATUS    RESTARTS   AGE   LABELS
nginx   1/1     Running   0          17m   run=nginx
rajith@k8s-master:~$
Look at the label in the pod and the selector in the service to have a better understanding. Also, see the port forwarding. It comes under the field ‘PORT(S)’ in the service output.
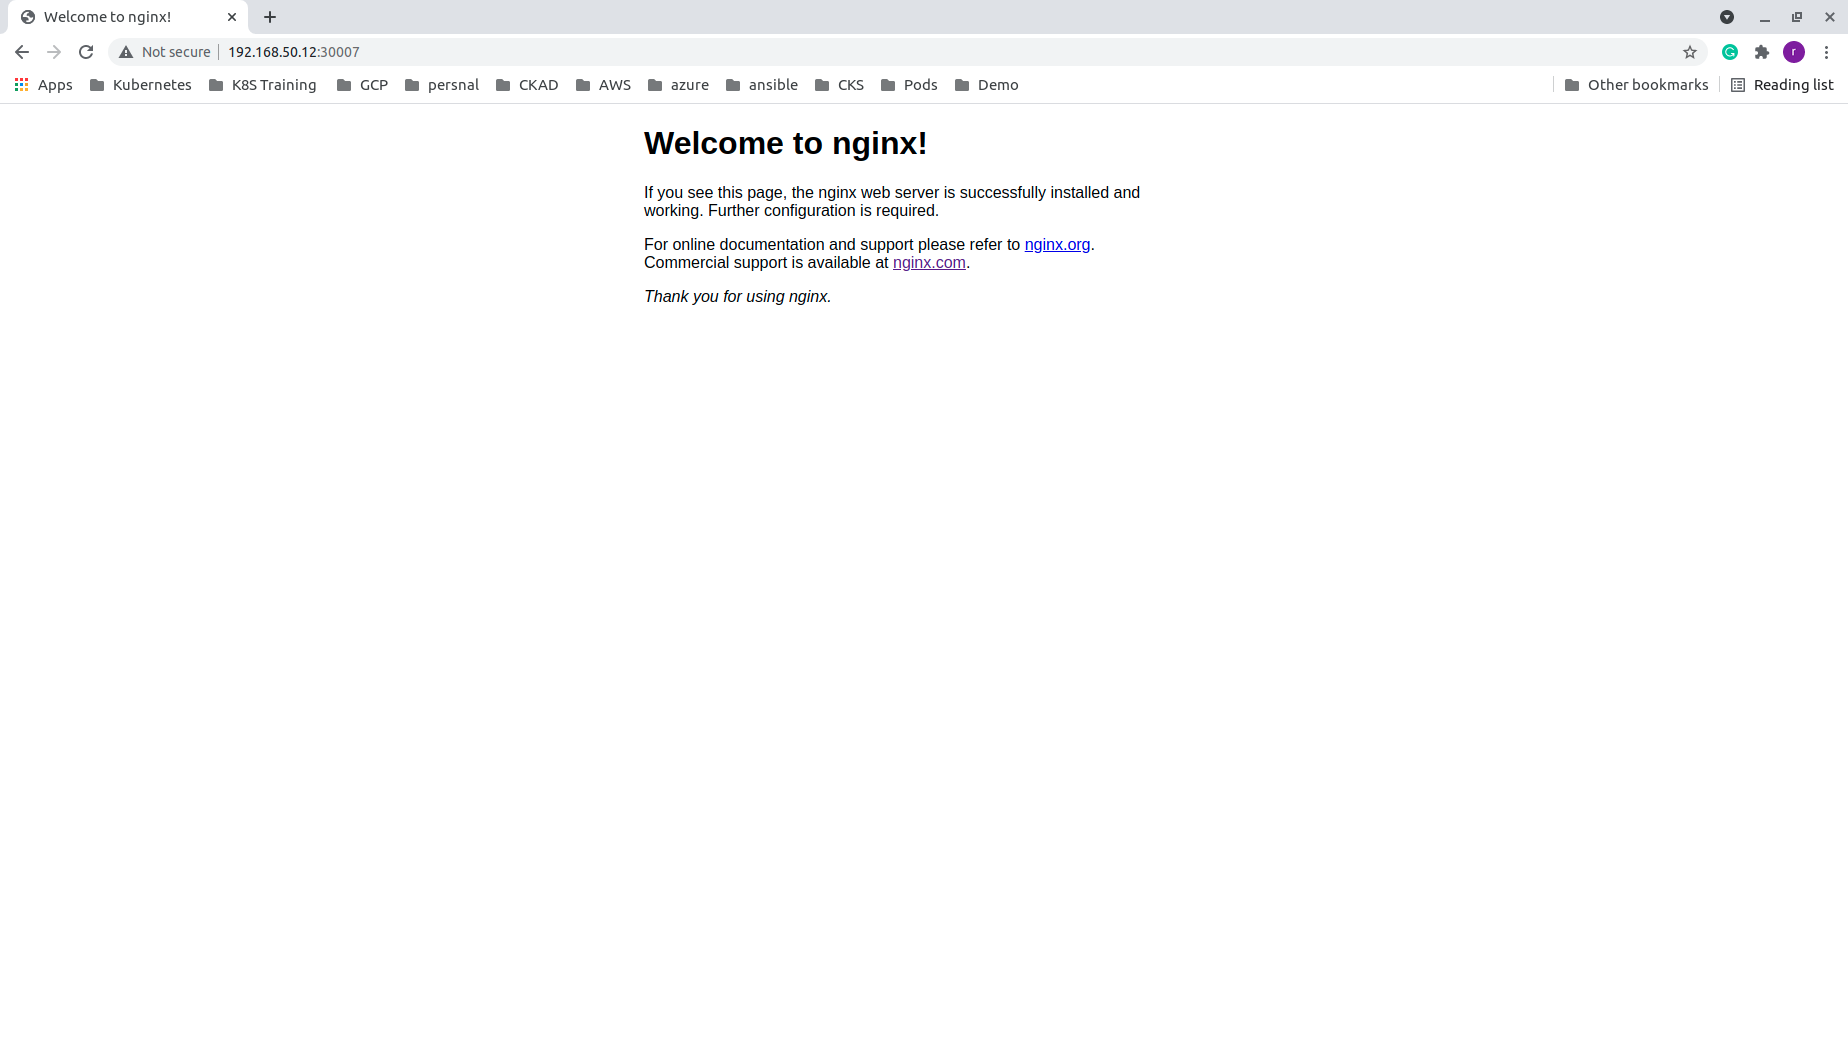
We will see the status through the web browser.
Now let us see how to get the shell of the Nginx container.
rajith@k8s-master:~$ hostname
k8s-master
rajith@k8s-master:~$ kubectl exec -it nginx -- bash
root@nginx:/# hostname
nginx
root@nginx:/#
Initially, we were on the master node. After executing the command “kubectl exec -it nginx – bash”, we connected to the Nginx container.
The short options -i and -t are the same as the long options –stdin and –tty
Let us try few commands inside the container.
root@nginx:/# ls -l
total 80
drwxr-xr-x   2 root root 4096 Jun 21 00:00 bin
drwxr-xr-x   2 root root 4096 Jun 13 10:30 boot
drwxr-xr-x   5 root root  360 Jul  9 02:38 dev
drwxr-xr-x   1 root root 4096 Jul  6 19:39 docker-entrypoint.d
-rwxrwxr-x   1 root root 1202 Jul  6 19:39 docker-entrypoint.sh
drwxr-xr-x   1 root root 4096 Jul  9 02:38 etc
drwxr-xr-x   2 root root 4096 Jun 13 10:30 home
drwxr-xr-x   1 root root 4096 Jul  6 19:39 lib
drwxr-xr-x   2 root root 4096 Jun 21 00:00 lib64
drwxr-xr-x   2 root root 4096 Jun 21 00:00 media
drwxr-xr-x   2 root root 4096 Jun 21 00:00 mnt
drwxr-xr-x   2 root root 4096 Jun 21 00:00 opt
dr-xr-xr-x 208 root root    0 Jul  9 02:38 proc
drwx------   1 root root 4096 Jul  9 03:14 root
drwxr-xr-x   1 root root 4096 Jul  9 02:38 run
drwxr-xr-x   2 root root 4096 Jun 21 00:00 sbin
drwxr-xr-x   2 root root 4096 Jun 21 00:00 srv
dr-xr-xr-x  13 root root    0 Jul  9 02:38 sys
drwxrwxrwt   1 root root 4096 Jul  6 19:39 tmp
drwxr-xr-x   1 root root 4096 Jun 21 00:00 usr
drwxr-xr-x   1 root root 4096 Jun 21 00:00 var
root@nginx:/#
All good commands are working.
Now let us see some details for Nginx. It is only for our remaining exercise. We are not going to learn Nginx here.
root@nginx:~# cd /usr/share/nginx/html/
root@nginx:/usr/share/nginx/html# ls -l
total 8
-rw-r--r-- 1 root root 494 Jul  6 14:59 50x.html
-rw-r--r-- 1 root root 612 Jul  6 14:59 index.html
Have a look at ‘index.html’.
root@nginx:/usr/share/nginx/html# cat index.html
<!DOCTYPE html>
<html>
<head>
<title>Welcome to nginx!</title>
<style>
    body {
        width: 35em;
        margin: 0 auto;
        font-family: Tahoma, Verdana, Arial, sans-serif;
    }
</style>
</head>
<body>
<h1>Welcome to nginx!</h1>
<p>If you see this page, the nginx web server is successfully installed and
working. Further configuration is required.</p>

<p>For online documentation and support please refer to
<a href="http://nginx.org/">nginx.org</a>.<br/>
Commercial support is available at
<a href="http://nginx.com/">nginx.com</a>.</p>

<p><em>Thank you for using nginx.</em></p>
</body>
</html>
root@nginx:/usr/share/nginx/html#
We will change the heading and the body of ‘index.html’,
root@nginx:/usr/share/nginx/html# vi index.html
bash: vi: command not found
root@nginx:/usr/share/nginx/html#
What happened to the ‘vi’ command! not working? 🤔
Yes, this is a lightweight container image. To reduce the image size, it will have only the basic command need for running the container.
Okay! Leave it aside. Let us continue our play with the container.
We will edit the ‘index.html’ file, but how? 🤔 Let us give it a try with the sed command. Don’t worry. I am taking a backup of it. 😜
root@nginx:/usr/share/nginx/html# cp index.html index.html.backup
root@nginx:/usr/share/nginx/html# sed -i 's/Welcome to nginx/Get a Shell to a Running Container/g' /usr/share/nginx/html/index.html
root@nginx:/usr/share/nginx/html# sed -i 's/the nginx web server is successfully installed and/Our test using 'sed' command is successfully completed./g' /usr/share/nginx/html/index.html
root@nginx:/usr/share/nginx/html# sed -i 's/working. Further configuration is required./******************************************************************************/g' /usr/share/nginx/html/index.html
Have a look at the file content after the modification.
root@nginx:/usr/share/nginx/html# cat index.html
<!DOCTYPE html>
<html>
<head>
<title>Get a Shell to a Running Container!</title>
<style>
    body {
        width: 35em;
        margin: 0 auto;
        font-family: Tahoma, Verdana, Arial, sans-serif;
    }
</style>
</head>
<body>
<h1>Get a Shell to a Running Container!</h1>
<p>If you see this page, Our test using sed command is successfully completed.
******************************************************************************</p>

<p>For online documentation and support please refer to
<a href="http://nginx.org/">nginx.org</a>.<br/>
Commercial support is available at
<a href="http://nginx.com/">nginx.com</a>.</p>

<p><em>Thank you for using nginx.</em></p>
</body>
</html>
root@nginx:/usr/share/nginx/html#
Yes, the file is modified as we expected. 👍
We will see the changes are reflecting in the browser.
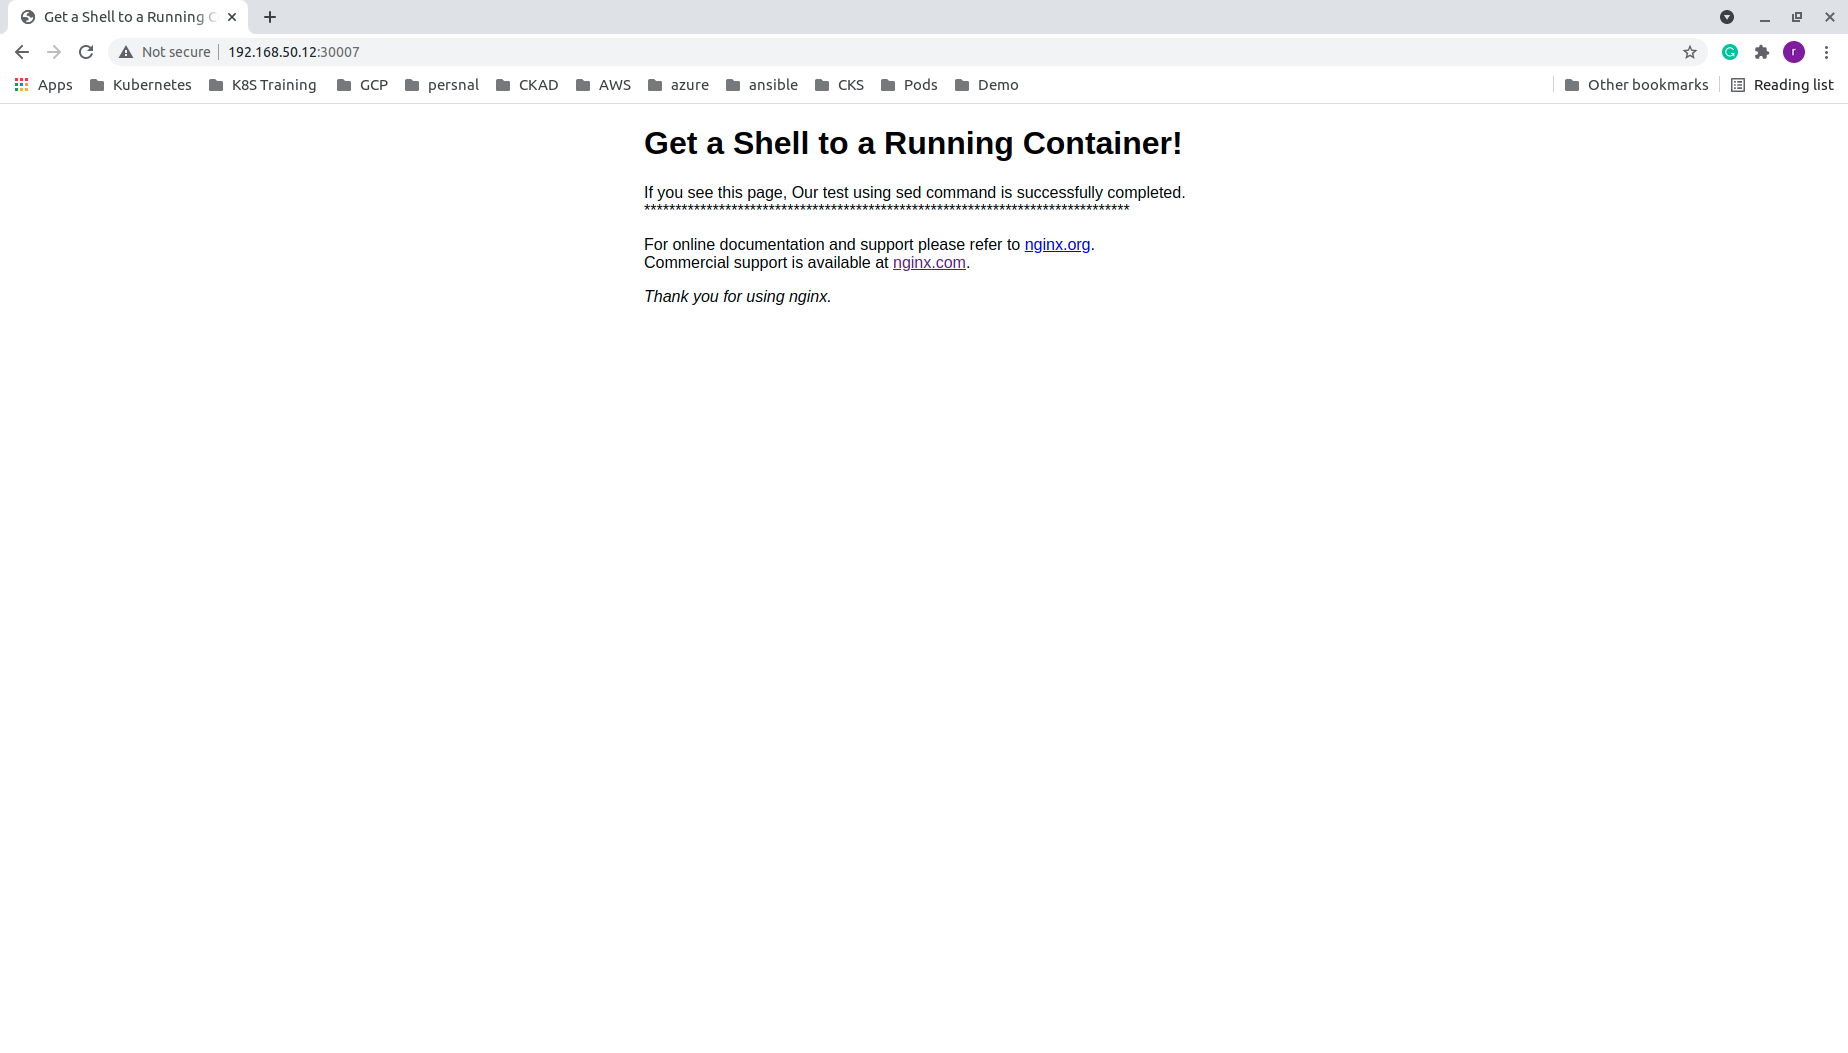
Yes, it is. 🙌🏻
Now let us try another command.
root@nginx:/usr/share/nginx/html#  echo -e '<html>\n<html>\n\t<body>\n\t\t<h1>Test the file modification with the "echo" command.</h1>\n\t</body>\n</html>' > /usr/share/nginx/html/index.html
root@nginx:/usr/share/nginx/html# cat /usr/share/nginx/html/index.html
<html>
<html>
	<body>
		<h1>Testing file edit with echo</h1>
	</body>
</html>
root@nginx:/usr/share/nginx/html#
We made the ‘HTML file using the echo command.
Let us see the browser.
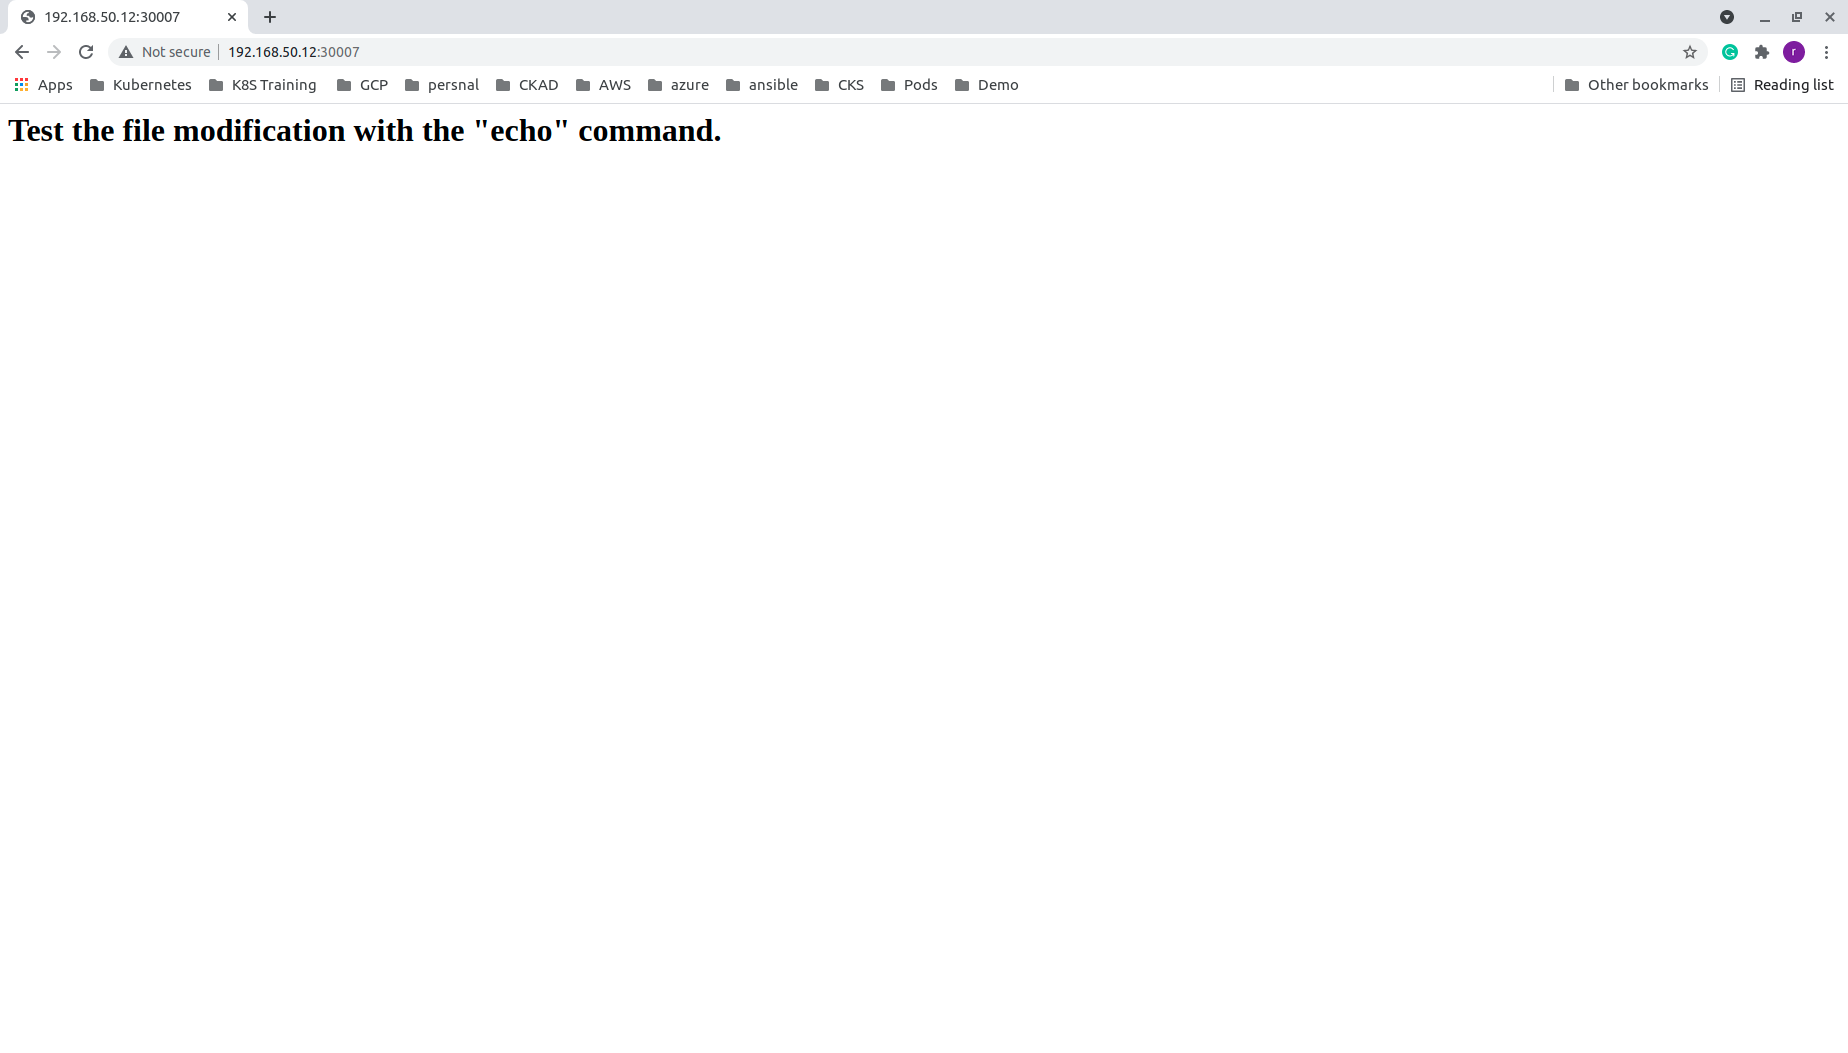
Yes, that also look okay! 👍
We will revert the changes.
root@nginx:/usr/share/nginx/html# cp index.html.backup index.html

Yes, it went back to its original state.
So all these exercises were to play with the shell commands on a running container.
Looks, some of you are not happy, you need to edit it with ‘vi’ itself?
Fine, let us do it with ‘vi’.
First, we will update the package.
root@nginx:/usr/share/nginx/html# apt-get update
Get:1 http://security.debian.org/debian-security buster/updates InRelease [65.4 kB]
Get:2 http://security.debian.org/debian-security buster/updates/main amd64 Packages [293 kB]
Get:3 http://deb.debian.org/debian buster InRelease [122 kB]
Get:4 http://deb.debian.org/debian buster-updates InRelease [51.9 kB]
Get:5 http://deb.debian.org/debian buster/main amd64 Packages [7907 kB]
Get:6 http://deb.debian.org/debian buster-updates/main amd64 Packages [15.2 kB]
Fetched 8454 kB in 3s (2688 kB/s)
Reading package lists... Done
Now let us go ahead and install the vim editor.
root@nginx:/usr/share/nginx/html# apt-get install vim
Reading package lists... Done
Building dependency tree
Reading state information... Done
The following additional packages will be installed:
  libgpm2 vim-common vim-runtime xxd
Suggested packages:
  gpm ctags vim-doc vim-scripts
The following NEW packages will be installed:
  libgpm2 vim vim-common vim-runtime xxd
0 upgraded, 5 newly installed, 0 to remove and 0 not upgraded.
Need to get 7425 kB of archives.
After this operation, 33.8 MB of additional disk space will be used.
Do you want to continue? [Y/n] y
Get:1 http://deb.debian.org/debian buster/main amd64 xxd amd64 2:8.1.0875-5 [140 kB]
Get:2 http://deb.debian.org/debian buster/main amd64 vim-common all 2:8.1.0875-5 [195 kB]
Get:3 http://deb.debian.org/debian buster/main amd64 libgpm2 amd64 1.20.7-5 [35.1 kB]
Get:4 http://deb.debian.org/debian buster/main amd64 vim-runtime all 2:8.1.0875-5 [5775 kB]
Get:5 http://deb.debian.org/debian buster/main amd64 vim amd64 2:8.1.0875-5 [1280 kB]
Fetched 7425 kB in 1s (6661 kB/s)
debconf: delaying package configuration, since apt-utils is not installed
Selecting previously unselected package xxd.
(Reading database ... 7638 files and directories currently installed.)
Preparing to unpack .../xxd_2%3a8.1.0875-5_amd64.deb ...
Unpacking xxd (2:8.1.0875-5) ...
Selecting previously unselected package vim-common.
Preparing to unpack .../vim-common_2%3a8.1.0875-5_all.deb ...
Unpacking vim-common (2:8.1.0875-5) ...
Selecting previously unselected package libgpm2:amd64.
Preparing to unpack .../libgpm2_1.20.7-5_amd64.deb ...
Unpacking libgpm2:amd64 (1.20.7-5) ...
Selecting previously unselected package vim-runtime.
Preparing to unpack .../vim-runtime_2%3a8.1.0875-5_all.deb ...
Adding 'diversion of /usr/share/vim/vim81/doc/help.txt to /usr/share/vim/vim81/doc/help.txt.vim-tiny by vim-runtime'
Adding 'diversion of /usr/share/vim/vim81/doc/tags to /usr/share/vim/vim81/doc/tags.vim-tiny by vim-runtime'
Unpacking vim-runtime (2:8.1.0875-5) ...
Selecting previously unselected package vim.
Preparing to unpack .../vim_2%3a8.1.0875-5_amd64.deb ...
Unpacking vim (2:8.1.0875-5) ...
Setting up libgpm2:amd64 (1.20.7-5) ...
Setting up xxd (2:8.1.0875-5) ...
Setting up vim-common (2:8.1.0875-5) ...
Setting up vim-runtime (2:8.1.0875-5) ...
Setting up vim (2:8.1.0875-5) ...
update-alternatives: using /usr/bin/vim.basic to provide /usr/bin/vim (vim) in auto mode
update-alternatives: using /usr/bin/vim.basic to provide /usr/bin/vimdiff (vimdiff) in auto mode
update-alternatives: using /usr/bin/vim.basic to provide /usr/bin/rvim (rvim) in auto mode
update-alternatives: using /usr/bin/vim.basic to provide /usr/bin/rview (rview) in auto mode
update-alternatives: using /usr/bin/vim.basic to provide /usr/bin/vi (vi) in auto mode
update-alternatives: warning: skip creation of /usr/share/man/da/man1/vi.1.gz because associated file /usr/share/man/da/man1/vim.1.gz (of link group vi) doesn't exist
update-alternatives: warning: skip creation of /usr/share/man/de/man1/vi.1.gz because associated file /usr/share/man/de/man1/vim.1.gz (of link group vi) doesn't exist
update-alternatives: warning: skip creation of /usr/share/man/fr/man1/vi.1.gz because associated file /usr/share/man/fr/man1/vim.1.gz (of link group vi) doesn't exist
update-alternatives: warning: skip creation of /usr/share/man/it/man1/vi.1.gz because associated file /usr/share/man/it/man1/vim.1.gz (of link group vi) doesn't exist
update-alternatives: warning: skip creation of /usr/share/man/ja/man1/vi.1.gz because associated file /usr/share/man/ja/man1/vim.1.gz (of link group vi) doesn't exist
update-alternatives: warning: skip creation of /usr/share/man/pl/man1/vi.1.gz because associated file /usr/share/man/pl/man1/vim.1.gz (of link group vi) doesn't exist
update-alternatives: warning: skip creation of /usr/share/man/ru/man1/vi.1.gz because associated file /usr/share/man/ru/man1/vim.1.gz (of link group vi) doesn't exist
update-alternatives: warning: skip creation of /usr/share/man/man1/vi.1.gz because associated file /usr/share/man/man1/vim.1.gz (of link group vi) doesn't exist
update-alternatives: using /usr/bin/vim.basic to provide /usr/bin/view (view) in auto mode
update-alternatives: warning: skip creation of /usr/share/man/da/man1/view.1.gz because associated file /usr/share/man/da/man1/vim.1.gz (of link group view) doesn't exist
update-alternatives: warning: skip creation of /usr/share/man/de/man1/view.1.gz because associated file /usr/share/man/de/man1/vim.1.gz (of link group view) doesn't exist
update-alternatives: warning: skip creation of /usr/share/man/fr/man1/view.1.gz because associated file /usr/share/man/fr/man1/vim.1.gz (of link group view) doesn't exist
update-alternatives: warning: skip creation of /usr/share/man/it/man1/view.1.gz because associated file /usr/share/man/it/man1/vim.1.gz (of link group view) doesn't exist
update-alternatives: warning: skip creation of /usr/share/man/ja/man1/view.1.gz because associated file /usr/share/man/ja/man1/vim.1.gz (of link group view) doesn't exist
update-alternatives: warning: skip creation of /usr/share/man/pl/man1/view.1.gz because associated file /usr/share/man/pl/man1/vim.1.gz (of link group view) doesn't exist
update-alternatives: warning: skip creation of /usr/share/man/ru/man1/view.1.gz because associated file /usr/share/man/ru/man1/vim.1.gz (of link group view) doesn't exist
update-alternatives: warning: skip creation of /usr/share/man/man1/view.1.gz because associated file /usr/share/man/man1/vim.1.gz (of link group view) doesn't exist
update-alternatives: using /usr/bin/vim.basic to provide /usr/bin/ex (ex) in auto mode
update-alternatives: warning: skip creation of /usr/share/man/da/man1/ex.1.gz because associated file /usr/share/man/da/man1/vim.1.gz (of link group ex) doesn't exist
update-alternatives: warning: skip creation of /usr/share/man/de/man1/ex.1.gz because associated file /usr/share/man/de/man1/vim.1.gz (of link group ex) doesn't exist
update-alternatives: warning: skip creation of /usr/share/man/fr/man1/ex.1.gz because associated file /usr/share/man/fr/man1/vim.1.gz (of link group ex) doesn't exist
update-alternatives: warning: skip creation of /usr/share/man/it/man1/ex.1.gz because associated file /usr/share/man/it/man1/vim.1.gz (of link group ex) doesn't exist
update-alternatives: warning: skip creation of /usr/share/man/ja/man1/ex.1.gz because associated file /usr/share/man/ja/man1/vim.1.gz (of link group ex) doesn't exist
update-alternatives: warning: skip creation of /usr/share/man/pl/man1/ex.1.gz because associated file /usr/share/man/pl/man1/vim.1.gz (of link group ex) doesn't exist
update-alternatives: warning: skip creation of /usr/share/man/ru/man1/ex.1.gz because associated file /usr/share/man/ru/man1/vim.1.gz (of link group ex) doesn't exist
update-alternatives: warning: skip creation of /usr/share/man/man1/ex.1.gz because associated file /usr/share/man/man1/vim.1.gz (of link group ex) doesn't exist
update-alternatives: using /usr/bin/vim.basic to provide /usr/bin/editor (editor) in auto mode
update-alternatives: warning: skip creation of /usr/share/man/da/man1/editor.1.gz because associated file /usr/share/man/da/man1/vim.1.gz (of link group editor) doesn't exist
update-alternatives: warning: skip creation of /usr/share/man/de/man1/editor.1.gz because associated file /usr/share/man/de/man1/vim.1.gz (of link group editor) doesn't exist
update-alternatives: warning: skip creation of /usr/share/man/fr/man1/editor.1.gz because associated file /usr/share/man/fr/man1/vim.1.gz (of link group editor) doesn't exist
update-alternatives: warning: skip creation of /usr/share/man/it/man1/editor.1.gz because associated file /usr/share/man/it/man1/vim.1.gz (of link group editor) doesn't exist
update-alternatives: warning: skip creation of /usr/share/man/ja/man1/editor.1.gz because associated file /usr/share/man/ja/man1/vim.1.gz (of link group editor) doesn't exist
update-alternatives: warning: skip creation of /usr/share/man/pl/man1/editor.1.gz because associated file /usr/share/man/pl/man1/vim.1.gz (of link group editor) doesn't exist
update-alternatives: warning: skip creation of /usr/share/man/ru/man1/editor.1.gz because associated file /usr/share/man/ru/man1/vim.1.gz (of link group editor) doesn't exist
update-alternatives: warning: skip creation of /usr/share/man/man1/editor.1.gz because associated file /usr/share/man/man1/vim.1.gz (of link group editor) doesn't exist
Processing triggers for libc-bin (2.28-10) ...
root@nginx:/usr/share/nginx/html#
Yes, ‘vi’ is installed.
Now let us edit the index.html with the vi editor.
root@nginx:/usr/share/nginx/html# vi index.html
root@nginx:/usr/share/nginx/html# cat index.html
<!DOCTYPE html>
<html>
<head>
<title>Welcome to nginx!</title>
<style>
    body {
        width: 35em;
        margin: 0 auto;
        font-family: Tahoma, Verdana, Arial, sans-serif;
    }
</style>
</head>
<body>
<h1>Welcome to nginx!</h1>
<p>If you see this page,The editing with the 'vi' editor is successfully completed.</p>

<p>For online documentation and support please refer to
<a href="http://nginx.org/">nginx.org</a>.<br/>
Commercial support is available at
<a href="http://nginx.com/">nginx.com</a>.</p>

<p><em>Thank you for using nginx.</em></p>
</body>
</html>
root@nginx:/usr/share/nginx/html#
The editing with the vi completed successfully.

Run single commands in a container.
To run a command, we no need to login to the container always. Those who are working in Unix administration sometimes take command output from the server without logging into the servers with ssh.
For example, I am taking the uptime of node-1 by executing the command from the master node.
rajith@k8s-master:~$ ssh node-1 -q uptime
rajith@node-1's password:
 03:16:26 up 56 min,  0 users,  load average: 0.33, 0.34, 0.24
rajith@k8s-master:~$
In the same way, we can run a command on a container from the master node. For this, we will Spinnup and container with centos image.
rajith@k8s-master:~$ kubectl run centos --image=centos --command sleep 5000
pod/centos created
rajith@k8s-master:~$ k
Pod name is centos.
- The image used to create the pod is centos.
- Pod lifecycle end if there is no running process available.
- The centos image does not have any process in the startup.
- We are executing a sleep command to make the pod alive till the completion of our test.
rajith@k8s-master:~$ kubectl get pods
NAME     READY   STATUS              RESTARTS   AGE
centos   0/1     ContainerCreating   0          7s
nginx    1/1     Running             1          13h
rajith@k8s-master:~$ kubectl get pods
NAME     READY   STATUS              RESTARTS   AGE
centos   0/1     ContainerCreating   0          29s
nginx    1/1     Running             1          13h
rajith@k8s-master:~$ kubectl get pods
NAME     READY   STATUS    RESTARTS   AGE
centos   1/1     Running   0          44s
nginx    1/1     Running   1          13h
rajith@k8s-master:~$
The pod created, and it is running now.
Let us try some commands without login into the container. Here are some examples:
The sleep command we executed is listing in the ps output. 👍
rajith@k8s-master:~$ kubectl exec -it centos -- ps aux
USER         PID %CPU %MEM    VSZ   RSS TTY      STAT START   TIME COMMAND
root           1  0.0  0.1  23020  1272 ?        Ss   02:53   0:00 /usr/bin/coreutils --coreutils-prog-shebang=sleep /usr/bin/sleep 5000
root          22  0.0  0.3  44628  3296 pts/0    Rs+  02:55   0:00 ps aux
rajith@k8s-master:~$
We will check the OS release.
rajith@k8s-master:~$ kubectl exec -it centos -- cat /etc/redhat-release
CentOS Linux release 8.3.2011
rajith@k8s-master:~$
It is “CentOS Linux release 8.3.2011”.
Let us try this in our Nginx pod.
rajith@k8s-master:~$ kubectl exec -it nginx -- rm /usr/share/nginx/html/index.html
Our Nginx welcome page still there?🧐
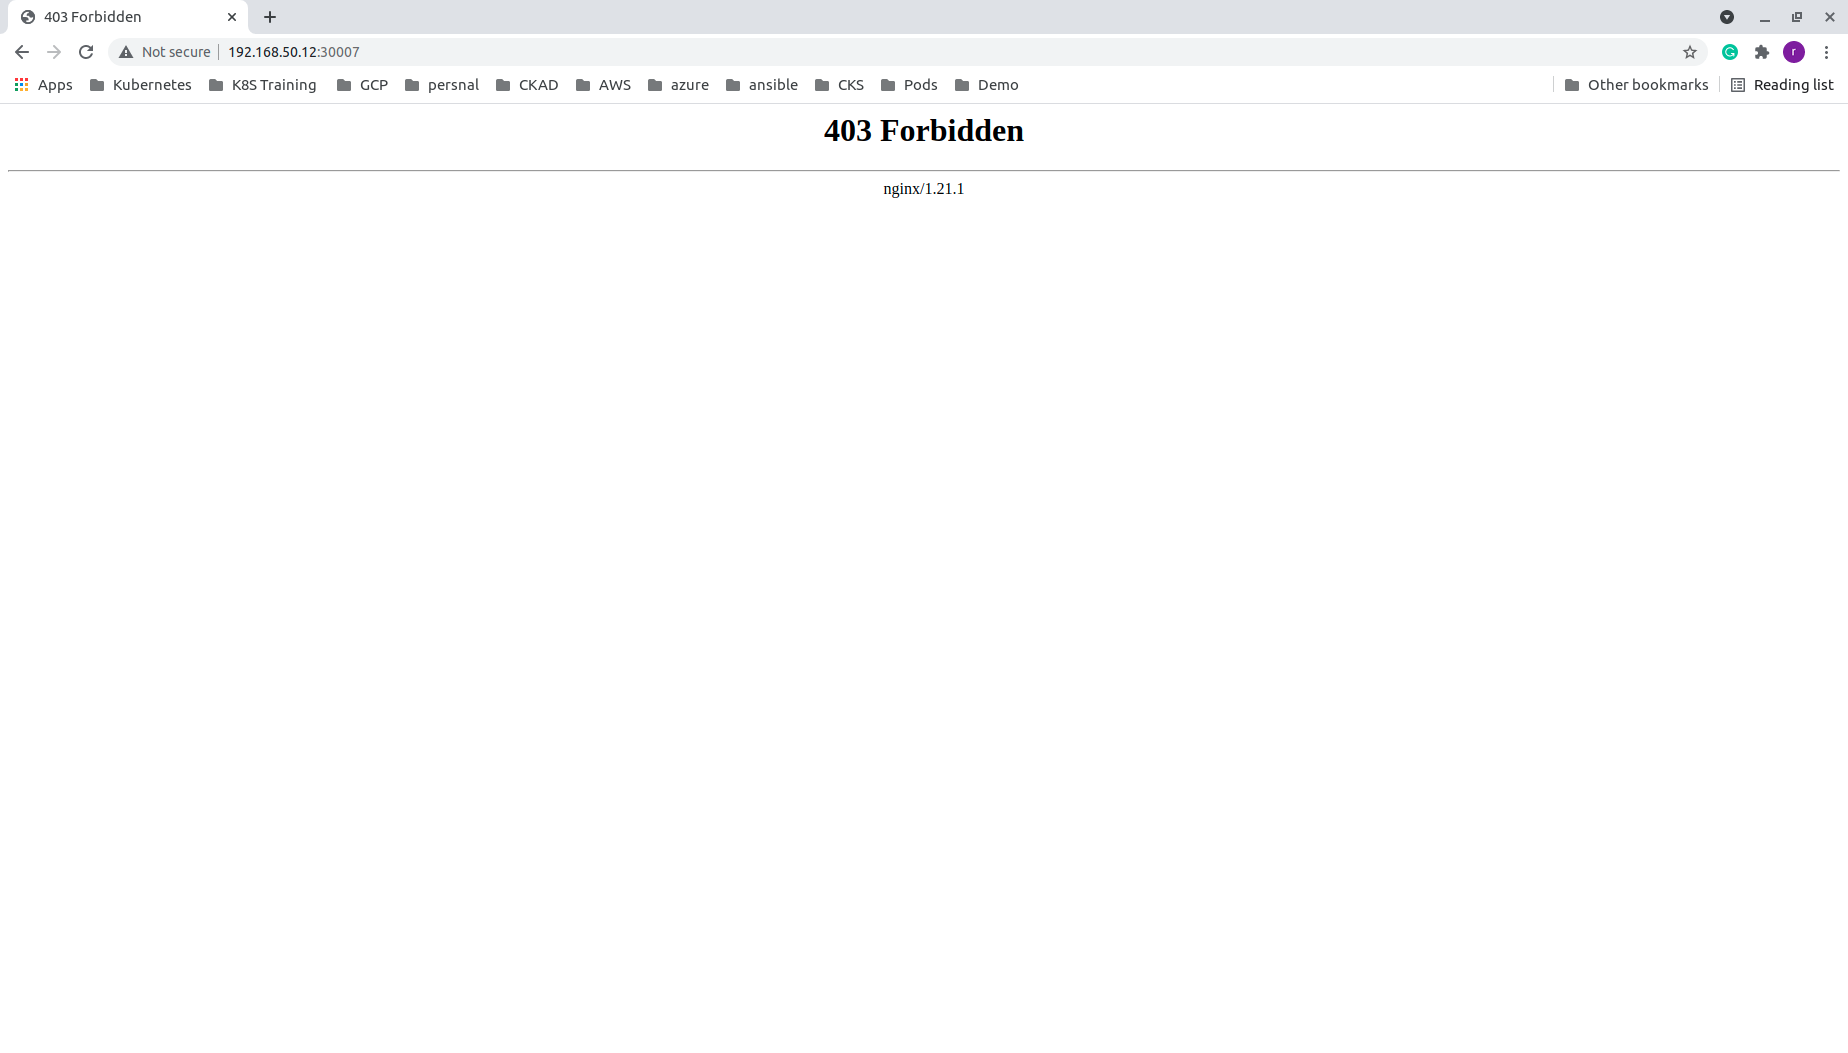
Ohh! everything has gone “403 Forbidden”. 😫
But our command executed successfully. 😀
Open a shell in multi-container pods.
Now let us create a pod with both the Nginx container and the centos container running on it.
We are using the same docker image to create the pod named multi-container.
rajith@k8s-master:~$ cat multi-container.yaml
apiVersion: v1
kind: Pod
metadata:
  name: multi-container
spec:
  containers:
  - name: centos
    command:
    - sleep
    - "5000"
    image: centos
  - name: nginx
    image : nginx
rajith@k8s-master:~$
- Here the name of the pod is multi-container.
- The name of the first container is centos also the image used is centos.
- The second container is ‘nginx’, image used also is ‘nginx’.
rajith@k8s-master:~$ kubectl create -f multi-container.yaml
pod/multi-container created
rajith@k8s-master:~$ kubectl get pods
NAME              READY   STATUS              RESTARTS   AGE
centos            1/1     Running             0          55m
multi-container   0/2     ContainerCreating   0          3s
nginx             1/1     Running             1          14h
rajith@k8s-master:~$ kubectl get pods
NAME              READY   STATUS              RESTARTS   AGE
centos            1/1     Running             0          55m
multi-container   0/2     ContainerCreating   0          12s
nginx             1/1     Running             1          14h
rajith@k8s-master:~$ kubectl get pods
NAME              READY   STATUS    RESTARTS   AGE
centos            1/1     Running   0          55m
multi-container   2/2     Running   0          31s
nginx             1/1     Running   1          14h
rajith@k8s-master:~$
Now the container started running. How do we connect to it? In the previous example, we had only one container inside the pod. So it directly connected.
Here we have a Pod named multi-container, and the Pod has two containers called centos and nginx in it. The following command would open a shell to the centos container.
kubectl exec -it multi-container -c centos – /bin/bash
[root@multi-container /]# cat /etc/redhat-release
CentOS Linux release 8.3.2011
[root@multi-container /]# ps aux
USER         PID %CPU %MEM    VSZ   RSS TTY      STAT START   TIME COMMAND
root           1  0.0  0.1  23020  1392 ?        Ss   17:14   0:00 /usr/bin/coreutils --coreutils-prog-shebang=sleep /usr/bin/sleep 5000
root          22  0.0  0.3  12128  3304 pts/0    Ss   17:52   0:00 /bin/bash
root          41  0.0  0.3  44628  3408 pts/0    R+   17:53   0:00 ps aux
[root@multi-container /]#
It is connected to the centos container.
In the same way, we can execute the below command to connect to the nginx pod.
kubectl exec -it multi-container -c nginx – /bin/bash
root@multi-container:/# ls -l /usr/share/nginx/html/index.html
-rw-r--r-- 1 root root 612 Jul  6 14:59 /usr/share/nginx/html/index.html
root@multi-container:/#
Now we saw the different methods to connect to the container in a pod.
So far we learned,
- Get a Shell to a Running Container.
- Run individual commands in a container.
- Open a shell when a Pod has more than one container.
That is it for now. Let us meet again in the next module.